


Overview
This guide explains how to create a new email address in cPanel for your domain, manage existing accounts, update passwords and quotas, and configure your email client.
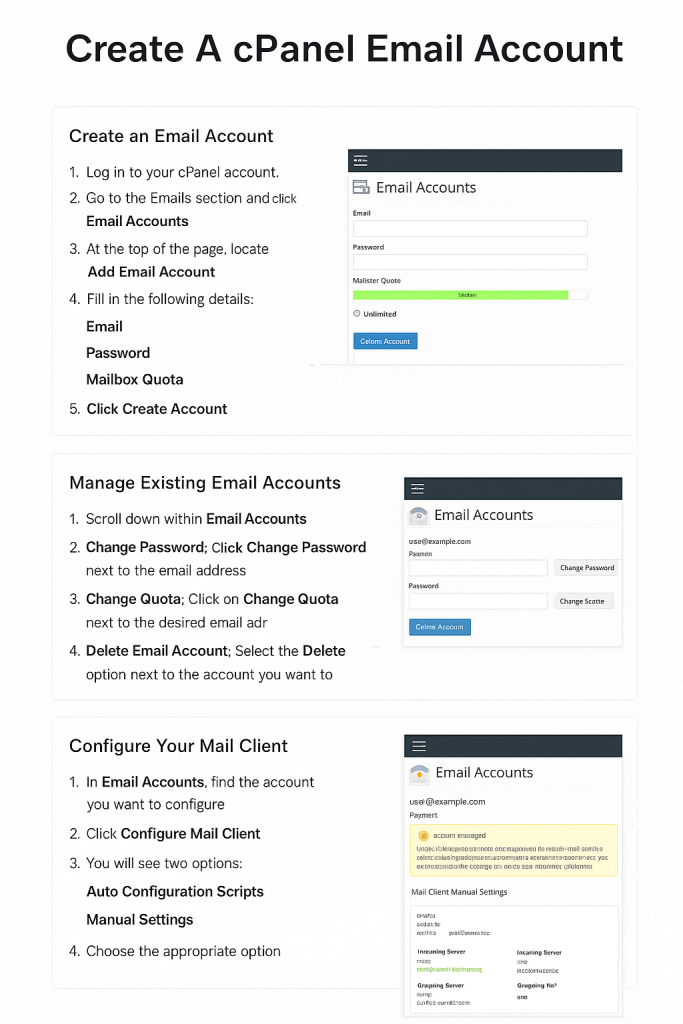
Step 1: Create an Email Account
- Log in to your cPanel account.
- Go to the Emails section and click Email Accounts.
- At the top of the page, locate Add Email Account.
- Fill in the following details:
- Email: Enter the name you want before the @yourdomain.com.
- Password: Choose a strong, secure password.
- Mailbox Quota: Set the storage limit (in MB) or choose Unlimited.
- Click Create Account.
Your new email address is now created and ready to use.
Step 2: Manage Existing Email Accounts
Scroll down within Email Accounts to view all addresses associated with your domain. Here, you can perform several management tasks:
Change Password
- Click Change Password next to the email address.
- Enter a new secure password.
- Click Change Password to save.
Change Quota
- Click Change Quota next to the desired email address.
- Enter a new quota in MB or choose Unlimited.
- Click Change Quota to apply changes.
Delete Email Account
- Select the Delete option next to the account you want to remove.
⚠️ Note: Deleting an email account will remove all associated emails and cannot be undone.
Step 3: Configure Your Mail Client
You can set up your new email account on desktop or mobile email clients such as Outlook, Thunderbird, Apple Mail, or Gmail App.
- In Email Accounts, find the account you want to configure.
- Click Configure Mail Client.
- You will see two options:
- Auto Configuration Scripts: Download and run the script to configure your mail client automatically.
- Manual Settings: View the server settings and configure them manually.
Manual Configuration Settings
cPanel provides four types of settings:
IMAP (Recommended – Keeps emails synced across devices)
- Secure (SSL/TLS):
- Incoming (IMAP): Port 993
- Outgoing (SMTP): Port 465
- Non-SSL:
- Incoming (IMAP): Port 143
- Outgoing (SMTP): Port 587
POP3 (Downloads emails locally – may not sync across devices)
- Secure (SSL/TLS):
- Incoming (POP3): Port 995
- Outgoing (SMTP): Port 465
- Non-SSL:
- Incoming (POP3): Port 110
- Outgoing (SMTP): Port 587
⚠️ Recommendation: Always use SSL/TLS for secure encrypted communication.
Summary
- Create new email accounts via cPanel > Email Accounts.
- Manage accounts by changing passwords, updating quotas, or deleting accounts.
- Configure mail clients using Auto Configuration Scripts or Manual Settings.
- Choose IMAP with SSL for the most secure and flexible setup.
✅ You are now ready to create and manage email accounts for your domain using cPanel.


