


Overview
This guide walks you through setting up your cPanel email account in Microsoft Outlook 2016 or Outlook 2019. With these steps, you’ll be able to send and receive emails seamlessly. Both IMAP and POP3 methods are covered, with IMAP recommended for syncing across multiple devices.
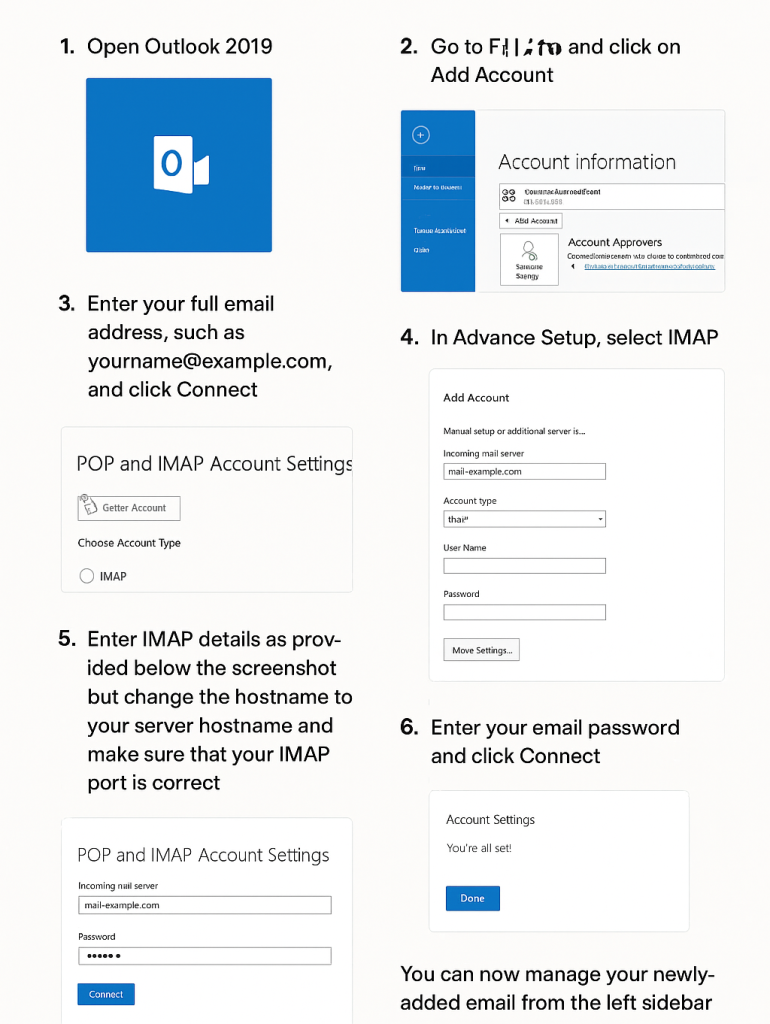
Step 1: Add or Edit the Email Account
- Open Outlook 2016 / 2019.
- Go to File > Info and click on Add Account.
- If you are modifying an existing account, click Account Settings, select the account, and choose Change.
Step 2: Manual Setup
- Select Manual setup or additional server types.
- Click Next.
Step 3: Select Email Account Type
- Choose POP or IMAP.
- Click Next.
Step 4: Configure General Settings
Fill in the fields as follows:
- Your Name: Enter your display name (how it will appear on sent emails).
- Email Address: Your full email address (e.g., yourname@example.com).
- Account Type: Select IMAP (recommended) or POP3.
- Incoming Mail Server:
- Non-SSL: mail.yourdomainname.com
- SSL: host.yourdomainname.com (server hostname)
- Outgoing Mail Server (SMTP):
- Non-SSL: mail.yourdomainname.com
- SSL: host.yourdomainname.com
- Username: Full email address.
- Password: Your email account password.
⚠️ Note: Do not check “Require logon using Secure Password Authentication (SPA).”
Step 5: Outgoing Server Settings
- Click More Settings.
- Go to the Outgoing Server tab.
- Check My outgoing server (SMTP) requires authentication.
- Select Use same settings as my incoming mail server.
Step 6: Configure Ports and Encryption
Standard (Non-SSL)
- IMAP: Port 143
- POP3: Port 110
- SMTP: Port 25 (587 can also be used)
- Encryption: None
Secure (SSL)
- IMAP: Port 993 (SSL)
- POP3: Port 995 (SSL)
- SMTP: Port 465 (SSL)
Click OK once complete.
Step 7: Test and Finish Setup
- Outlook will test your connection.
- If successful, you will see a confirmation message.
- If using a self-signed SSL certificate, you may see a warning. Click Yes to accept, or install the certificate to prevent future warnings.
- Click Finish.
Bonus for IMAP Users: Manage Folders
- Right-click on your email account’s Inbox.
- Select IMAP Folders.
- Click Query to view folders.
- Subscribe or unsubscribe as needed.
- Click Apply and then OK.
Important Notes
- You cannot convert an existing POP account to IMAP or vice versa. To change account type, create a new account.
- Deleting an account will remove all locally stored messages. For POP accounts without “leave a copy on server” enabled, this may result in data loss.
- For advanced SSL setup or assistance, contact your hosting provider (e.g., HOSTAFRICA support).
✅ You’ve now successfully set up your cPanel email account in Outlook 2016/2019.


